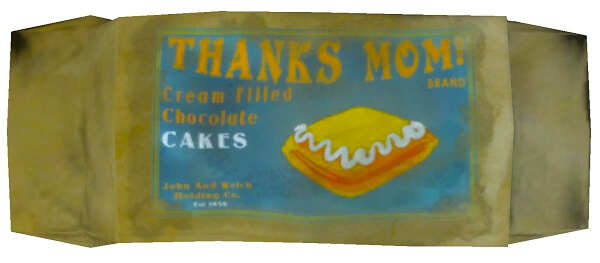
It’s high time for inspiration from my favorite game, to which I come back at least once a year – although I know it by heart, the climate of the underwater city of Andrew Ryan, Rapture, is so addictive that I just can’t resist it. I even dream of a stylized room with various game props, posters, a turntable and Bing Crosby’s hits or Ink Spots in the background (and a restaurant in this atmosphere would be something amazing!).

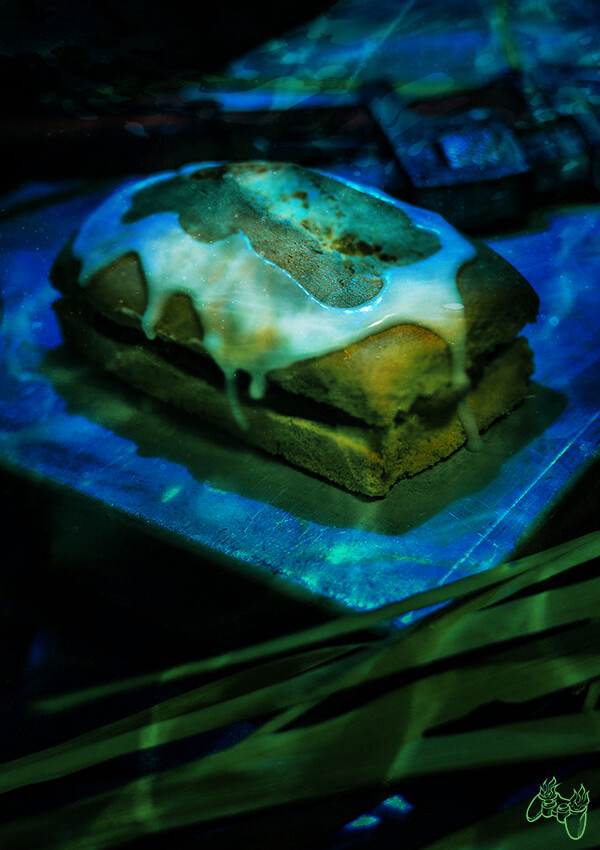
In my version it is a universal sponge cake with a a lot of calories and tasty chocolate cream from mascarpone cheese and cream. It regenerates strength after struggling with the unbearable inhabitants of Rapture. So: “Ha ha ha ha ha ha ha haaa! Fill (or cure / kill) your cravings at the Circus of Values!”
CREME-FILLED CAKE
BioShock
sponge cake with chocolate cream
PREP TIME: 25 min + 30 min (waiting)
PRICE: low
SERVING: 5
LEVEL: medium
STATS: 567 kcal | 10 g proteins | 46 g carbs | 38 g fat
YOU’LL NEED
oven
aluminum foil
mixer or whisk

INGREDIENTS:
CAKE
wheat flour, cake flour – 1/2 glass (85g)
potato flour – 2 tablespoons (30g)
egg M / L – 3 pcs. (180g)
white sugar – 6 tablespoons (90g)
salt – a pinch
CREME
mascarpone or other cream cheese – 250g
30% cream – 200 ml
powdered sugar – 8 tablespoons (80g)
natural cocoa – 4 tablespoons (30g)
bitter chocolate – 1/3 tablets (30g)
ICING
powdered sugar – 2 tablespoons (20g)
lemon – half a tablespoon
possibly a drop of vanilla aroma
PREPARATION
1. MOLDS (5 min)
To make the cakes have a nice shape, it is worth making molds out of aluminum foil (unless you have a special baking tray). If you do not want to play with it, all you need is a simple baking tray, the bottom of which should be lined with baking paper (the sides are not lined or greased), and after baking cut the sponge cake into smaller portions.
Own production, however, is also not difficult. All you need is a box / dish of the size desired for our cakes (a tea box in our case) and a few pieces of aluminum foil. We put the box on a double folded piece of foil (the mold will be more stable, it can be even three times) with a width/length of 3 cm longer than the dimensions of the box. Then we grab the box with foil from below and carefully wrap it with the sides of the foil, pressing it against the sides. We take out the box and we have a ready mold. Just make additional 3-4 of them and then you’re ready to prepare the cake.
2. SEPARATION OF WHITES AND YOLKS (2 min)
Do it traditionally with your hands or use a plastic bottle, squeezing it and holding it over the broken egg into the bowl, and exactly above the yolk. Then let go, and the bottle will suck just yolk. Transfer the yolks the same way – squeeze the bottle over a separate bowl.
3. OVEN
It’s time to set it to 160C/320F degrees, up and down heater option.
4. CAKE (5 min)
Pour the whites into a deep bowl, add a pinch of salt and beat with a mixer or whisk manually until stiff. Then gradually add sugar, mixing further. At the end, also gradually, pour in the yolks and continue mixing until the mass is uniform.
Add sifted wheat and potato flour to the mass – gently mix it in with a spatula or spoon (no more mixer or whisk use) until the flour thoroughly blends with the mass into a uniform, fluffy dough. Pour it into molds, filling them to half height.
5. BAKING(20 min)
Bake the dough for about 20 minutes (depending on the size of the mold). When it is lightly browned from the top, check whether it is baked – put a stick / toothpick in the middle of the cake and look if it is completely dry after pulling, if so, the cookies are ready. Take them out of the oven and set aside to cool (for now we do not remove them from the molds).
6. CHOCOLATE CREAM (5 min)
Pour the cream into a high bowl, beat with a mixer or whisk manually to obtain stiff, whipped cream. Then add powdered sugar and mascarpone cheese and continue mixing until the lumps of cheese are broken. Add melted chocolate (melt it earleir in a water bath or in a microwave) and natural cocoa – mix the whole thing for a while, only to combine the ingredients.
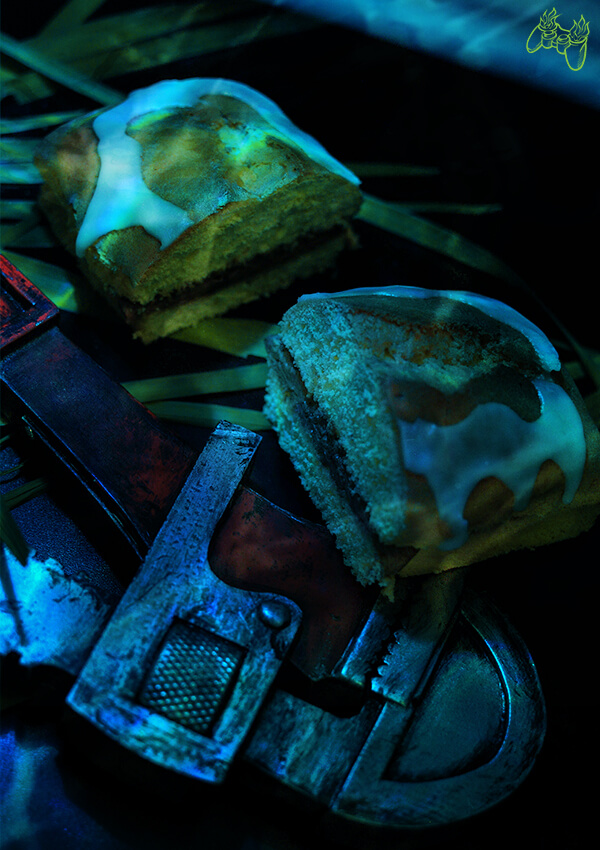
7. ASSEMBLY (5 min)
Take the cooled sponge cakes out of the molds (just lightly remove the foil) and cut lengthwise through the center with a sharp knife. If you do not like dry biscuits, soak the halves from the inside with a spoon of tea with sugar, coffee or alcohol – we usually do it, because then the cakes are much better. Then put chocolate cream on one half, put on the other and lightly press with the palm of your hand. Mix powdered sugar with a small amount of lemon jucie and decorate the top with this thick white icing.
SERVING
It is perfect for a fluffy, extremely delicious, sweet snack. Although they only restore a small amount of life, you can be sure that even Splicers will fight for a bite of this specialty. Andrew Ryan recommends.